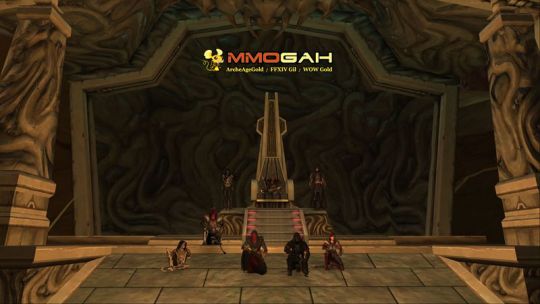
Mmogah.Com believes that almost all SWTOR players have played S&V HM and more specifically Styrak. Most of you may have your own tactics and mechanics of the fight, here let us summarize those tactics together (Basically, the tactics have not changed up to now.)

The Trash Pull
Nothing too special here. The fight is exactly as it was. Pull the lines 1 by 1, interrupting the channel of the gold NPC (many SWTOR players choose to buy SWTOR Gold) when it starts healing and force it to move to melee range for AoE. Repeat this for each wave. Not recommended to pull more than 1 or 2 waves together, unless you are looking for fun time.
Kel Dragon
The only real difference compared to SM is the bigger damage. While the Dragon spins, the spines hurt a lot more. Mmogah.Com suggests that every guy stacks behind the tank and does not stop doing damage during the period of the spinning. Although the boss is shielded, still takes damage and sometimes it may prove useful. Killing the ads as soon as you see them to avoid the green goo. When running with 1 tank, the 2nd highest on the “threat table” will take Kel Dragon while tank is “channeled” by the ads. With standard 2 tank team, the 2nd tank picks up the boss. Moving in one direction to make the MDPS easier and put the green goo “behind” the group. There is no “pushing” NPC in HM.
Styrak and his Ghosts
You will need to push maximum DPS overall. Depending on the team’s gear and class balance, even healers may need DPS during the Manifestation burns. You can use Raid Buffs at the beginning of Kel Dragon.
Styrak drops right after you kill Kep Dragon. After a while he disappears and a big giant ghost apparition spawns in the middle accompanied by 4 ads connected to each other with lightning beam. The 4 keel moving closer to the middle and you need to kill the Manifestation before they reach it, resulting in instant wipe.
After the Manfestation, Styrak appears again, just briefly. Don’t waste that time, do as much damage on him as you can. Shortly after that, he will disappear once again, spawning 4 spirits at 12, 3, 6, 9 o’clock (12 being the throne). Their positions are always stationary in HM, unlike in NiM. One player needs to quickly move in melee range to them. Best practice is to assign these 4 players before starting the boss fight. The spirits damage the closest person and if they are not in melee range, the incoming damage is very nasty.
Next, Styrak returns again.
Styrak - Big Manifestation - Styrak - Four Spirits
During Styrak and his Ghosts, this cycle repeats 4 times. If you do not get to next phase before the 5th Manifestation appears, you will face enrage.
Not to forget, the nightmares, and they happen to 1 random player every time. Styrak is on the floor before the big Manifestation spawns. Inside the nightmare, you have to kill your own companion.
Kel Dragon Returns
Around 12% Styrak will call for help and reanimate the Dragon again. As soon as this happens, the team needs to dish out big burst of DPS and take the monster as quick as possible. During this, Styrak is channeling (the tank) while regenerating health slowly. Use defensive cooldowns and raid buffs.
The Final Burn
After the beast is dead, Styrak is easy to kill. Keep him in the middle or bring him next to the vridge, but not under it and DPS him down as quick as possible. The AoE damage is unavoidable and the sooner he drops, the better.
Above all, I summarize those tactics from a strategy written by an elite player. I just want all of you to know about the most completed and professional tactics. If you want to buy SWTOR Gold, you can choose MmoGah.Com, we provide the safest SWTOR Credits (SWTOR Gold Kaufen), its price is reasonable and fluctuant according to the gaming market. You can click on the links in the following to see the secure certification and good reviews.
http://www.bizrate.com/reviews/mmogah.com/235559/
https://safeweb.norton.com/report/show?url=mmogah.com
https://www.siteadvisor.com/sites/www.mmogah.com
https://www.trustpilot.com/review/mmogah.com
http://www.ownedcore.com/forums/world-of-warcraft/world-of-warcraft-gold-seller-reviews/435542-mmogah.html
没有评论:
发表评论